Frame mockup photographs are basically a professionally styled photo of an empty frame in a home setting. They are perfect if you sell prints, artwork or any type of printable on Etsy, amazon, eBay etc. Not only are they amazing time savers (you don't have to style and photograph each and every print you design), they are also great at making your shop look professional and helping your prints to stand out amongst the crowd.
In this blog post I'm going to show you how to make your own frame mockups using Pixomize. This technique requires a Pixomize Membership and takes only a few minutes. However if you would prefer to buy some ready made frame mockups check out our Etsy shop.
Using frame mockups saves you so much time and ensures your product photography looks professional, however it is possible that other Etsy sellers are using the exact same mockup. If you really want your prints to stand out amongst the millions of other sellers, then the perfect solution is to create your own unique frame mockups. The best part is you don't even need to have a camera, Photoshop or any photography skills whatsoever!
The video below shows you how to create your own frame mockups with Pixomize, or if you prefer see below for the written step by step instructions with screenshots.
How To Create Your Own Frame Mockups
1. Log in and select a category
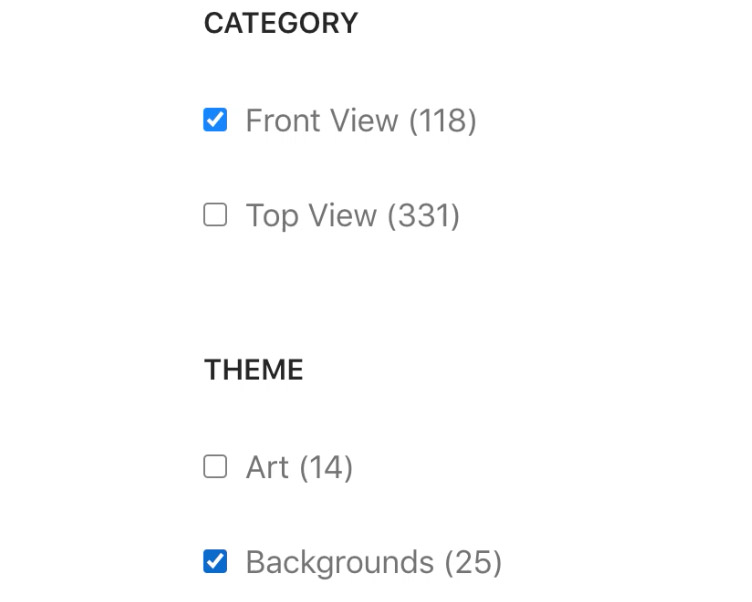
Login to Pixomize and go to library in the menu. If you haven't already signed up then you can sign up here. Scroll to the bottom of the page to view the categories. Select 'front view' to ensure all of the images are taken from a front view angle (top view would be for creating flat lay images, see this tutorial here if you would like to learn how to make these).
Then scroll down and select 'backgrounds' and click submit.
2. Choose a background
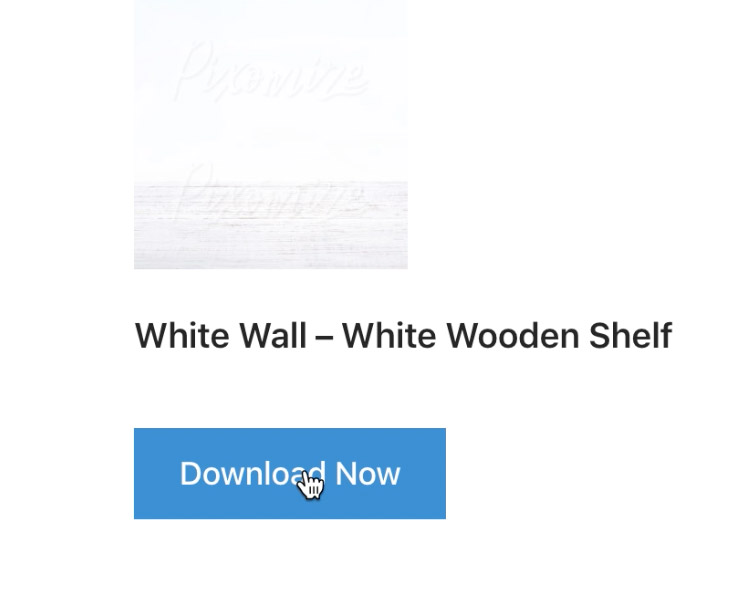
All of the front view background images will appear. Choose the background that you want for your mockup and click the 'download now' button underneath it to download it to your computer.
3. Choose your frame
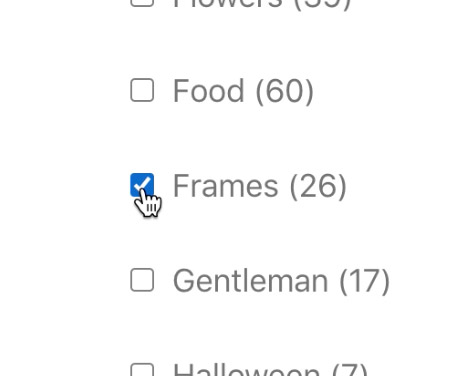
Go back to the library and scroll to the bottom. Select 'front view' in the first category, and then select 'frames' and scroll down and click submit to see all of our front view frames. Choose the frame that you want to use for your mockup and click 'download now'.
4. Choose your props

Choose your props for your frame mockup by going back to the library, selecting 'front view' and then choosing a theme. For this tutorial I selected 'flowers'. Click submit to show you all of the front view flower themed props, choose your prop(s) and download them.
5. Open up the background image

Open up your background image in a photo editing program. This will work in almost any photo editing software, such as Photoshop, Pixlr, Photopea, GIMP etc. In this example I have used photopea - a free online photo editing program.
Go to file > open and select the background image that you downloaded from Pixomize.
6. Add your frame
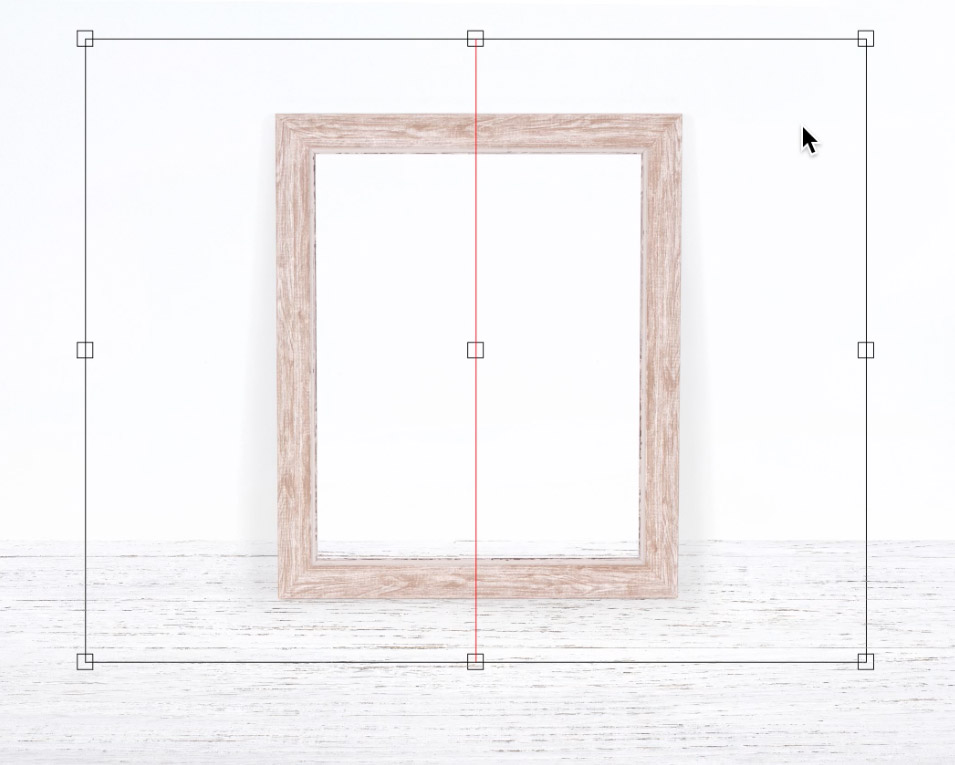
Add your frame to the background. To do this in Photopea I just found the frame file in my downloads folder on my computer and dragged it into the Photopea window. Use the move tool to move the frame. To resize the frame go to edit > free transform and drag the corner inwards or outwards, just make sure you hold down shift on your keyboard to keep the dimensions consistent.
7. Add your props
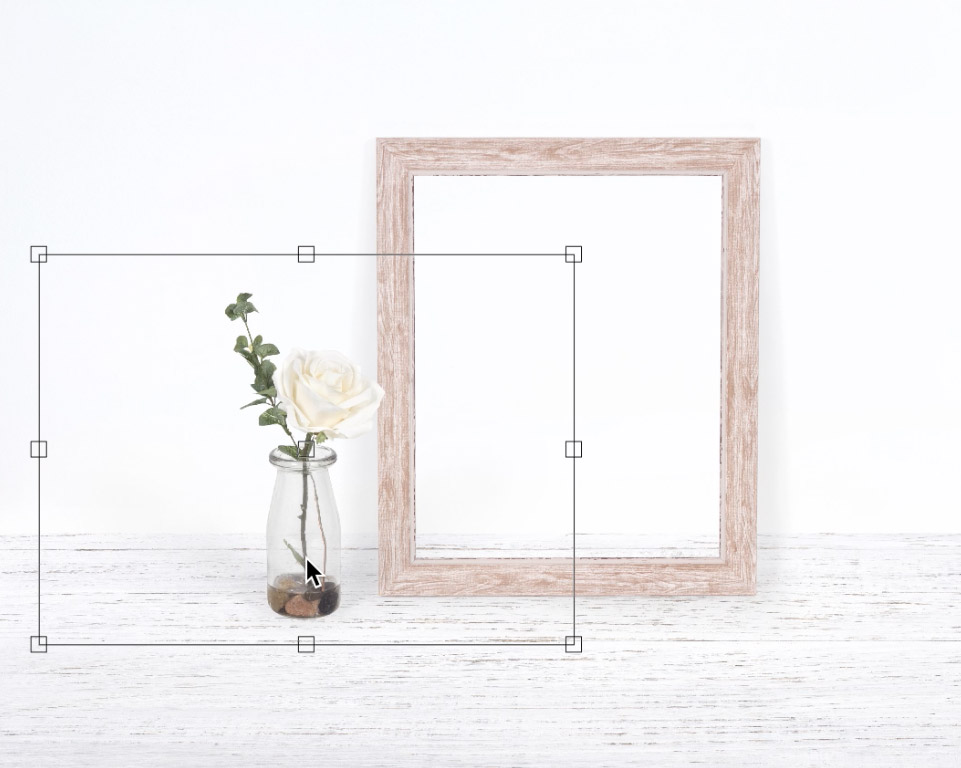
Add your props to the frame mockup by dragging them into the window, and resizing/moving them the same way you did with the frame. Double click to place the file.
8. Add your artwork to the frame

Find your artwork file on your computer and drag it into the window. Resize your artwork so that it is slightly larger than the inner section of the frame, but smaller than the outer frame. Double click to place the file.
9. Move the artwork layer
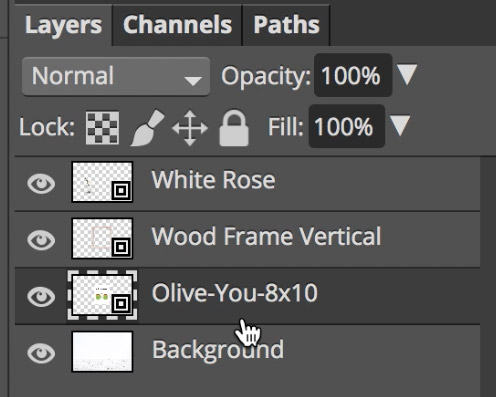
Go to the layers panel on the right hand side and drag the artwork layer underneath the frame layer. The artwork will then look as if it is inside the frame. Crop your frame mockup if necessary.
Then go to layer > flatten image to flatten the mockup. Then save it and your frame mockup is complete!

Now you know how to create your own unique styled frame mockups with Pixomize, you can create a different mockup photo for each of your prints. You can use these mockups to display your prints and designs in your Etsy, eBay, Amazon shops, as well as your own website and social media!
Did you know you can sell the mockups you create using a Pixomize PRO Membership? That's right! You can start a business selling frame mockups, t-shirt mockups, flat lays and styled stock photos without ever having to pick up a camera! Find out more about our pro membership here.

Thanks for one’s marvelous posting! I certainly enjoyed reading it, you are a
great author. I will make certain to bookmark your blog and will come
back in the foreseeable future. I want to encourage one to continue
your great job, have a nice evening!